Angle
A guide line of a set length at a set angle — mark a 45° cut, a flap's slope, or just a straight diagonal, without eyeballing a point.
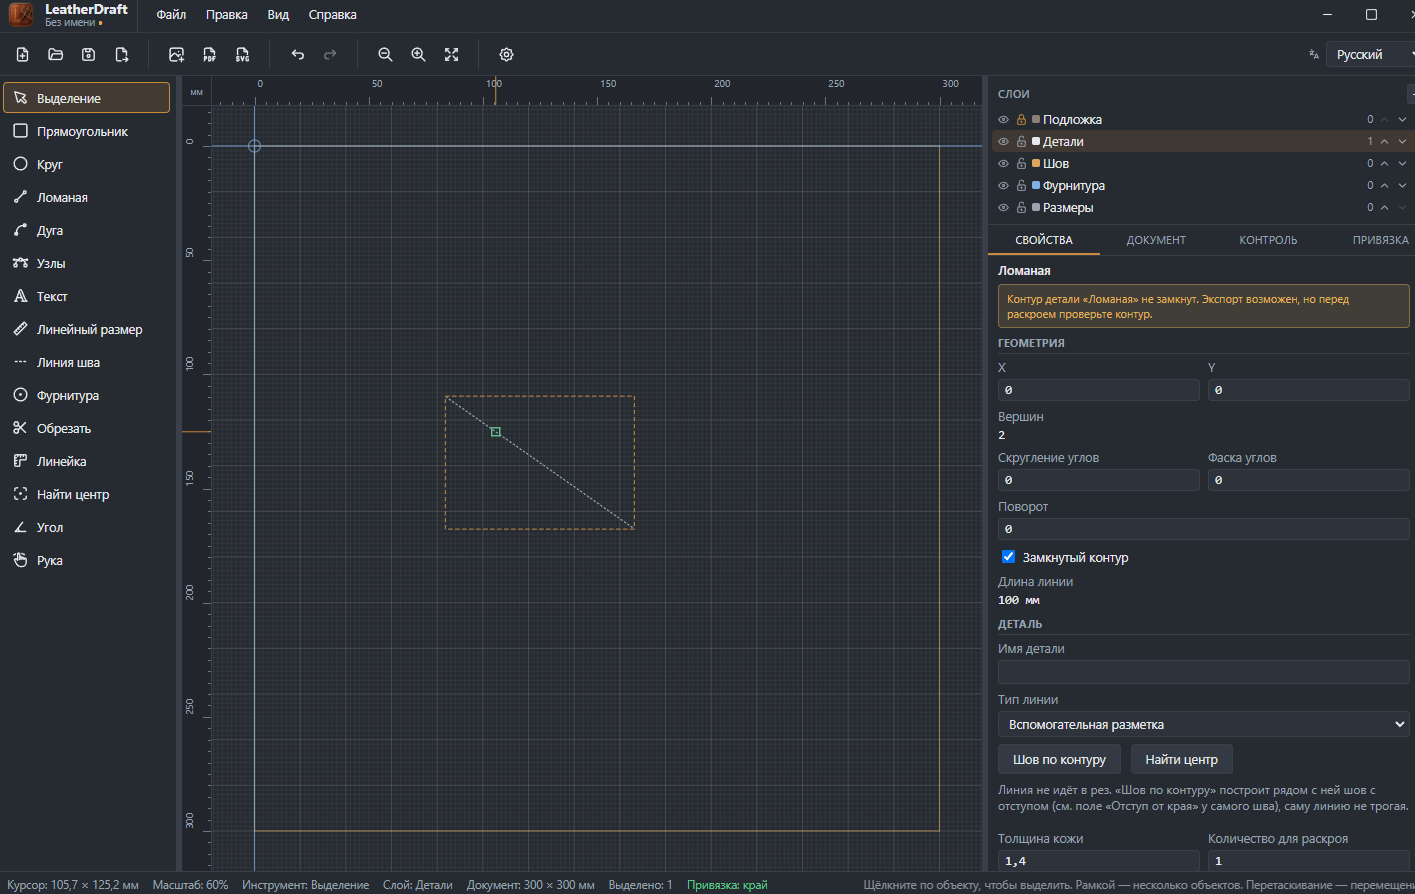
How to draw a line
- Click the "Angle" button on the left panel or press
G. - Click the start point — "Length" and "Angle" fields appear.
- Type the numbers you need and press
Enter— the line lands exactly on them, as in the screenshot above (100 mm at 35°). - Or skip typing and just drag with the mouse in the direction you want, by eye.
Esccancels the drawing.
The same "Length" and "Angle" fields for exact numeric entry of the second point are also used by the Linear Dimension tool — it's the same trick.
Properties
The line it builds is an open polyline with two vertices, with the default line type "Guide" (the same type used by the crosshair from Find Center). Its geometry — vertices, rotation, length — works just like the Polyline tool.
On a guide line, the "Stitch along contour" button works differently than on a regular piece: it doesn't touch the line itself, but builds a separate stitch next to it at a set margin from the edge. If instead you want to turn this exact line into a stitch in its own place — that swap is available on open lines built with the Arc tool, via the "Convert to stitch" button.